How to turn off the Clutter feature in Office 365
Microsoft recently released a new feature called clutter. According to Microsoft Clutter is designed to help you focus on the most important messages in your inbox. It uses machine learning to de-clutter your inbox by moving lower priority messages out of your way and into a new Clutter folder. Ultimately, Clutter removes distractions so you can focus on what matters most. Unfortunately for some users clutter isn’t working the way it was designed to. In this How To I will explain you how to turn off the Clutter feature in Office 365.
- Open office 365
- Login into account
- Click on the Office 365 settings drop down
- Scroll down to the options section and click it. It should be the 7th one from the bottom
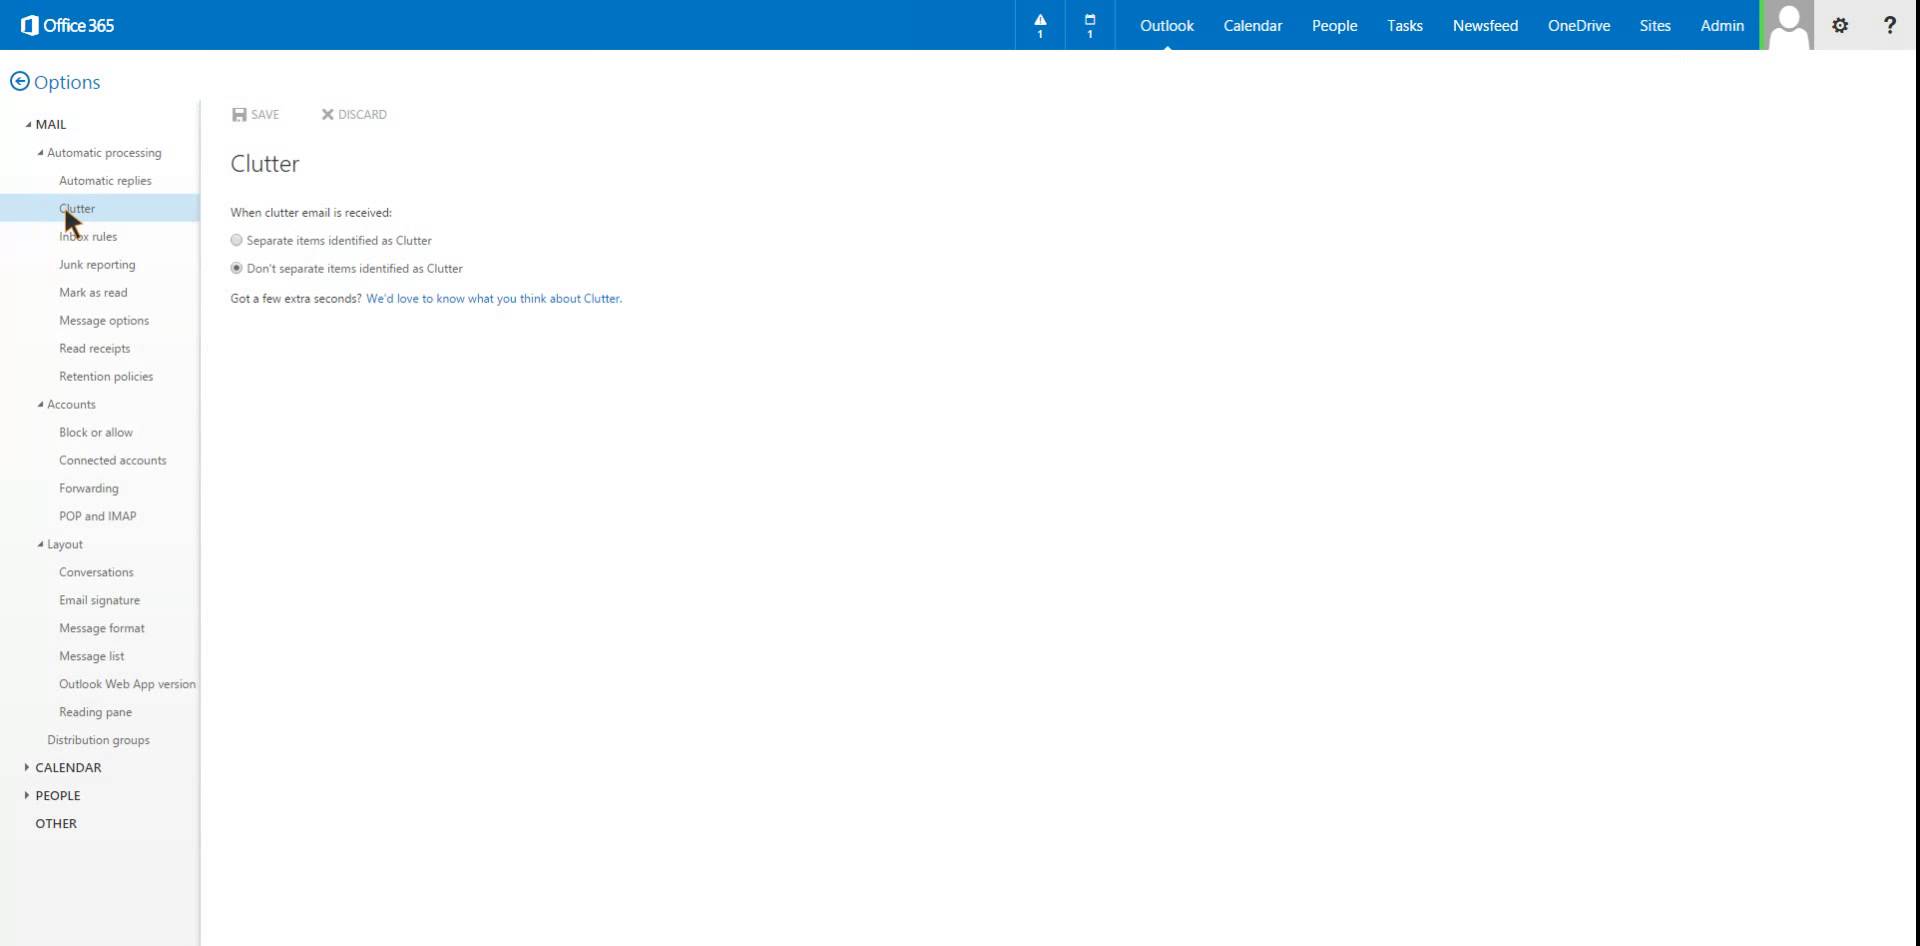
- On the left side there will be a main selection called MAIL and underneath some sub sections. The third one down is titled Clutter. Click on Clutter
- Under Clutter you have the options to “Separate items identified as clutter” or “Don’t separate items identified as clutter”
- Click “Don’t separate items identified as clutter” to prevent your emails from being moved
- Click Save
Unfortunately once the Clutter feature has been turned off, all emails that were sent to that folder will not automatically go back to into your inbox folder. Each email will need to be manually moved into the desired folder.
Here are some FAQ and answers to common Office 365 Clutter questions:
Will Clutter start working immediately? Yes, once it is enabled for a mailbox. It takes time for a good set of signals to be collected for Clutter to learn what is important to an individual user. You can help accelerate the process by acting as a form of “manual Clutter” just after the feature is enabled by moving items into the Clutter folder or by marking messages as Clutter. Clutter will learn from your actions and will begin to mimic them as new mail arrives. In general, the more messages you mark or move, the more evidence you provide for Clutter to analyze and the quicker it will be in understanding how you process email. It’s also fair to say Clutter might require to observe how you process a couple of hundred messages before it is really useful.
What administrative controls exist for Clutter? The current implementation is a user-initiated function. In other words, all users have to enable or disable Clutter in the Options menu. There is no way for an administrator to enable or disable Clutter for a selected mailbox. Also, Clutter only works for user mailboxes. It doesn’t work for shared mailboxes or group mailboxes.
What will end up in the Clutter folder? The simple answer is any message that is determined by Clutter to be unimportant based on its understanding of your priorities. In reality, it will differ from person to person because everyone processes their Inbox differently.
What about Junk mail then – isn’t Clutter just another form of junk mail processing? Not at all. The decisions made to mark messages as Junk Mail come from a massive collection of known spam that Microsoft has built over time. That effort to identify and classify the characteristics of spam from new mail continues but the decisions that result are generic and apply to everyone. Clutter is very personal because machine learning takes the signals provided by the mailbox owner and use them to decide whether a message should be moved into the Clutter folder.